I would like to make a small 3P Motor Controller for 20A and it’s plenty of SO8 size HEXFET’s that can do the job. The challenge is how to get the PCB to support this without going to large. I made this draft that I will try out.
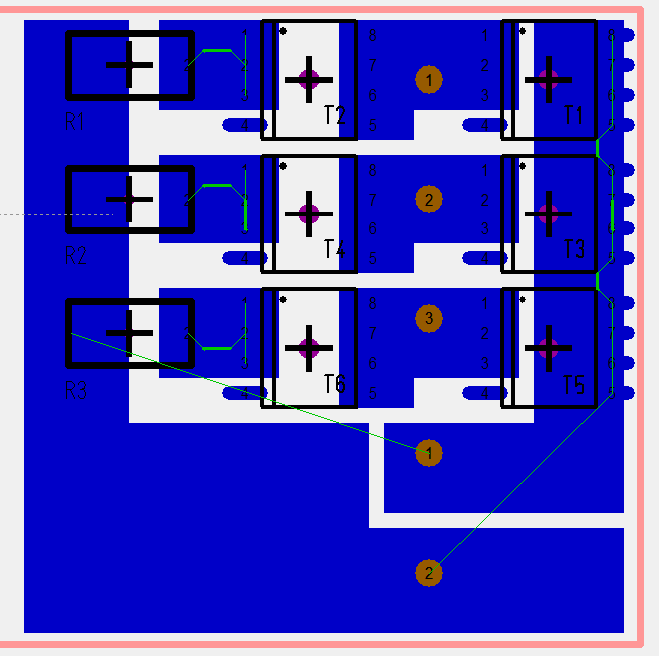
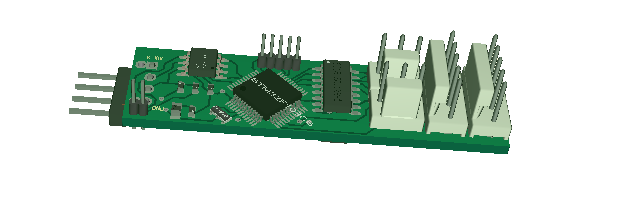
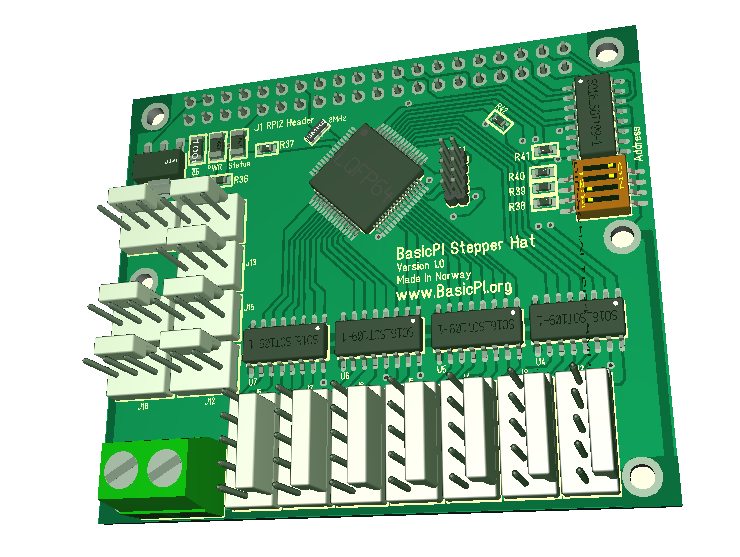
This is a snap from the EDA showing the PCB at the end of a 28mm wide stick. The SO8 HEXFET’s go edge to edge so you can drill a hole to take the output between them. R1, R2 and R3 are current sensors. The picture below show a 3D of the components. I have not completed routing, but I should have plenty of space for the 12 signals (2 x 3 PWM. 3 x BEMF, 3xCurrent Sense) on the other side..
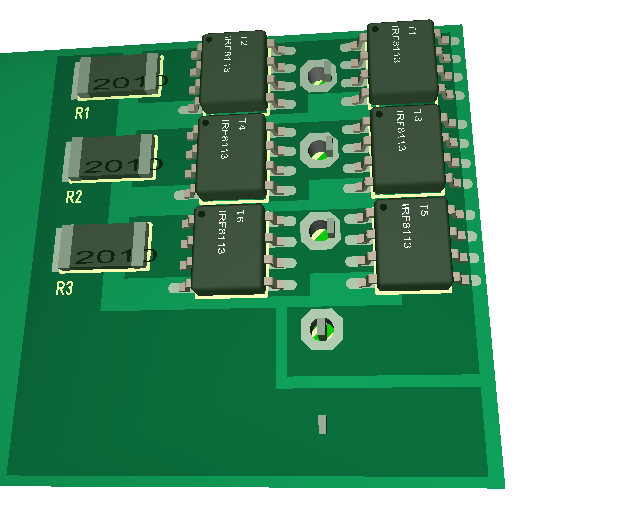
The idea is to mount a flat heatsink on top of the HEXFET’s and shunts.
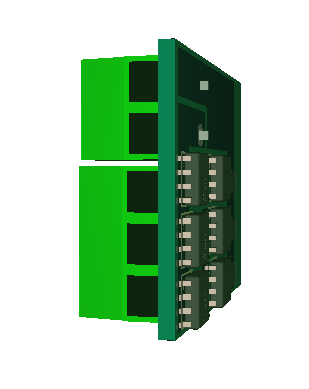
One trick is that I on the back side aligne the holes with 2P and 3P screw connectors to give me the option to use those as well. I will need to give this driver a test to see if I actually can get 20A out of the PCB. I am aware that some of the small ESC’s claim to deliver far more than this, but dissecting a few I found that they claim more current than the datasheet on their HEXFET’s. And they also use inner layers only that is far less efficient than Outer layers. They do however provide a nice array of 12 HEXFET’s with a heatsink. All in all buying an ESC for 6.- USD claiming 30A you have to give guys who created this some credit.
Just for the record, 20A continuous equals much higher motor current’s, but I don’t like overselling. The HEXFET I am using have 170A peak. It will be january before I receive everything I need, but I will be fuzing HEXFET’s and PCB’s to find their limits.
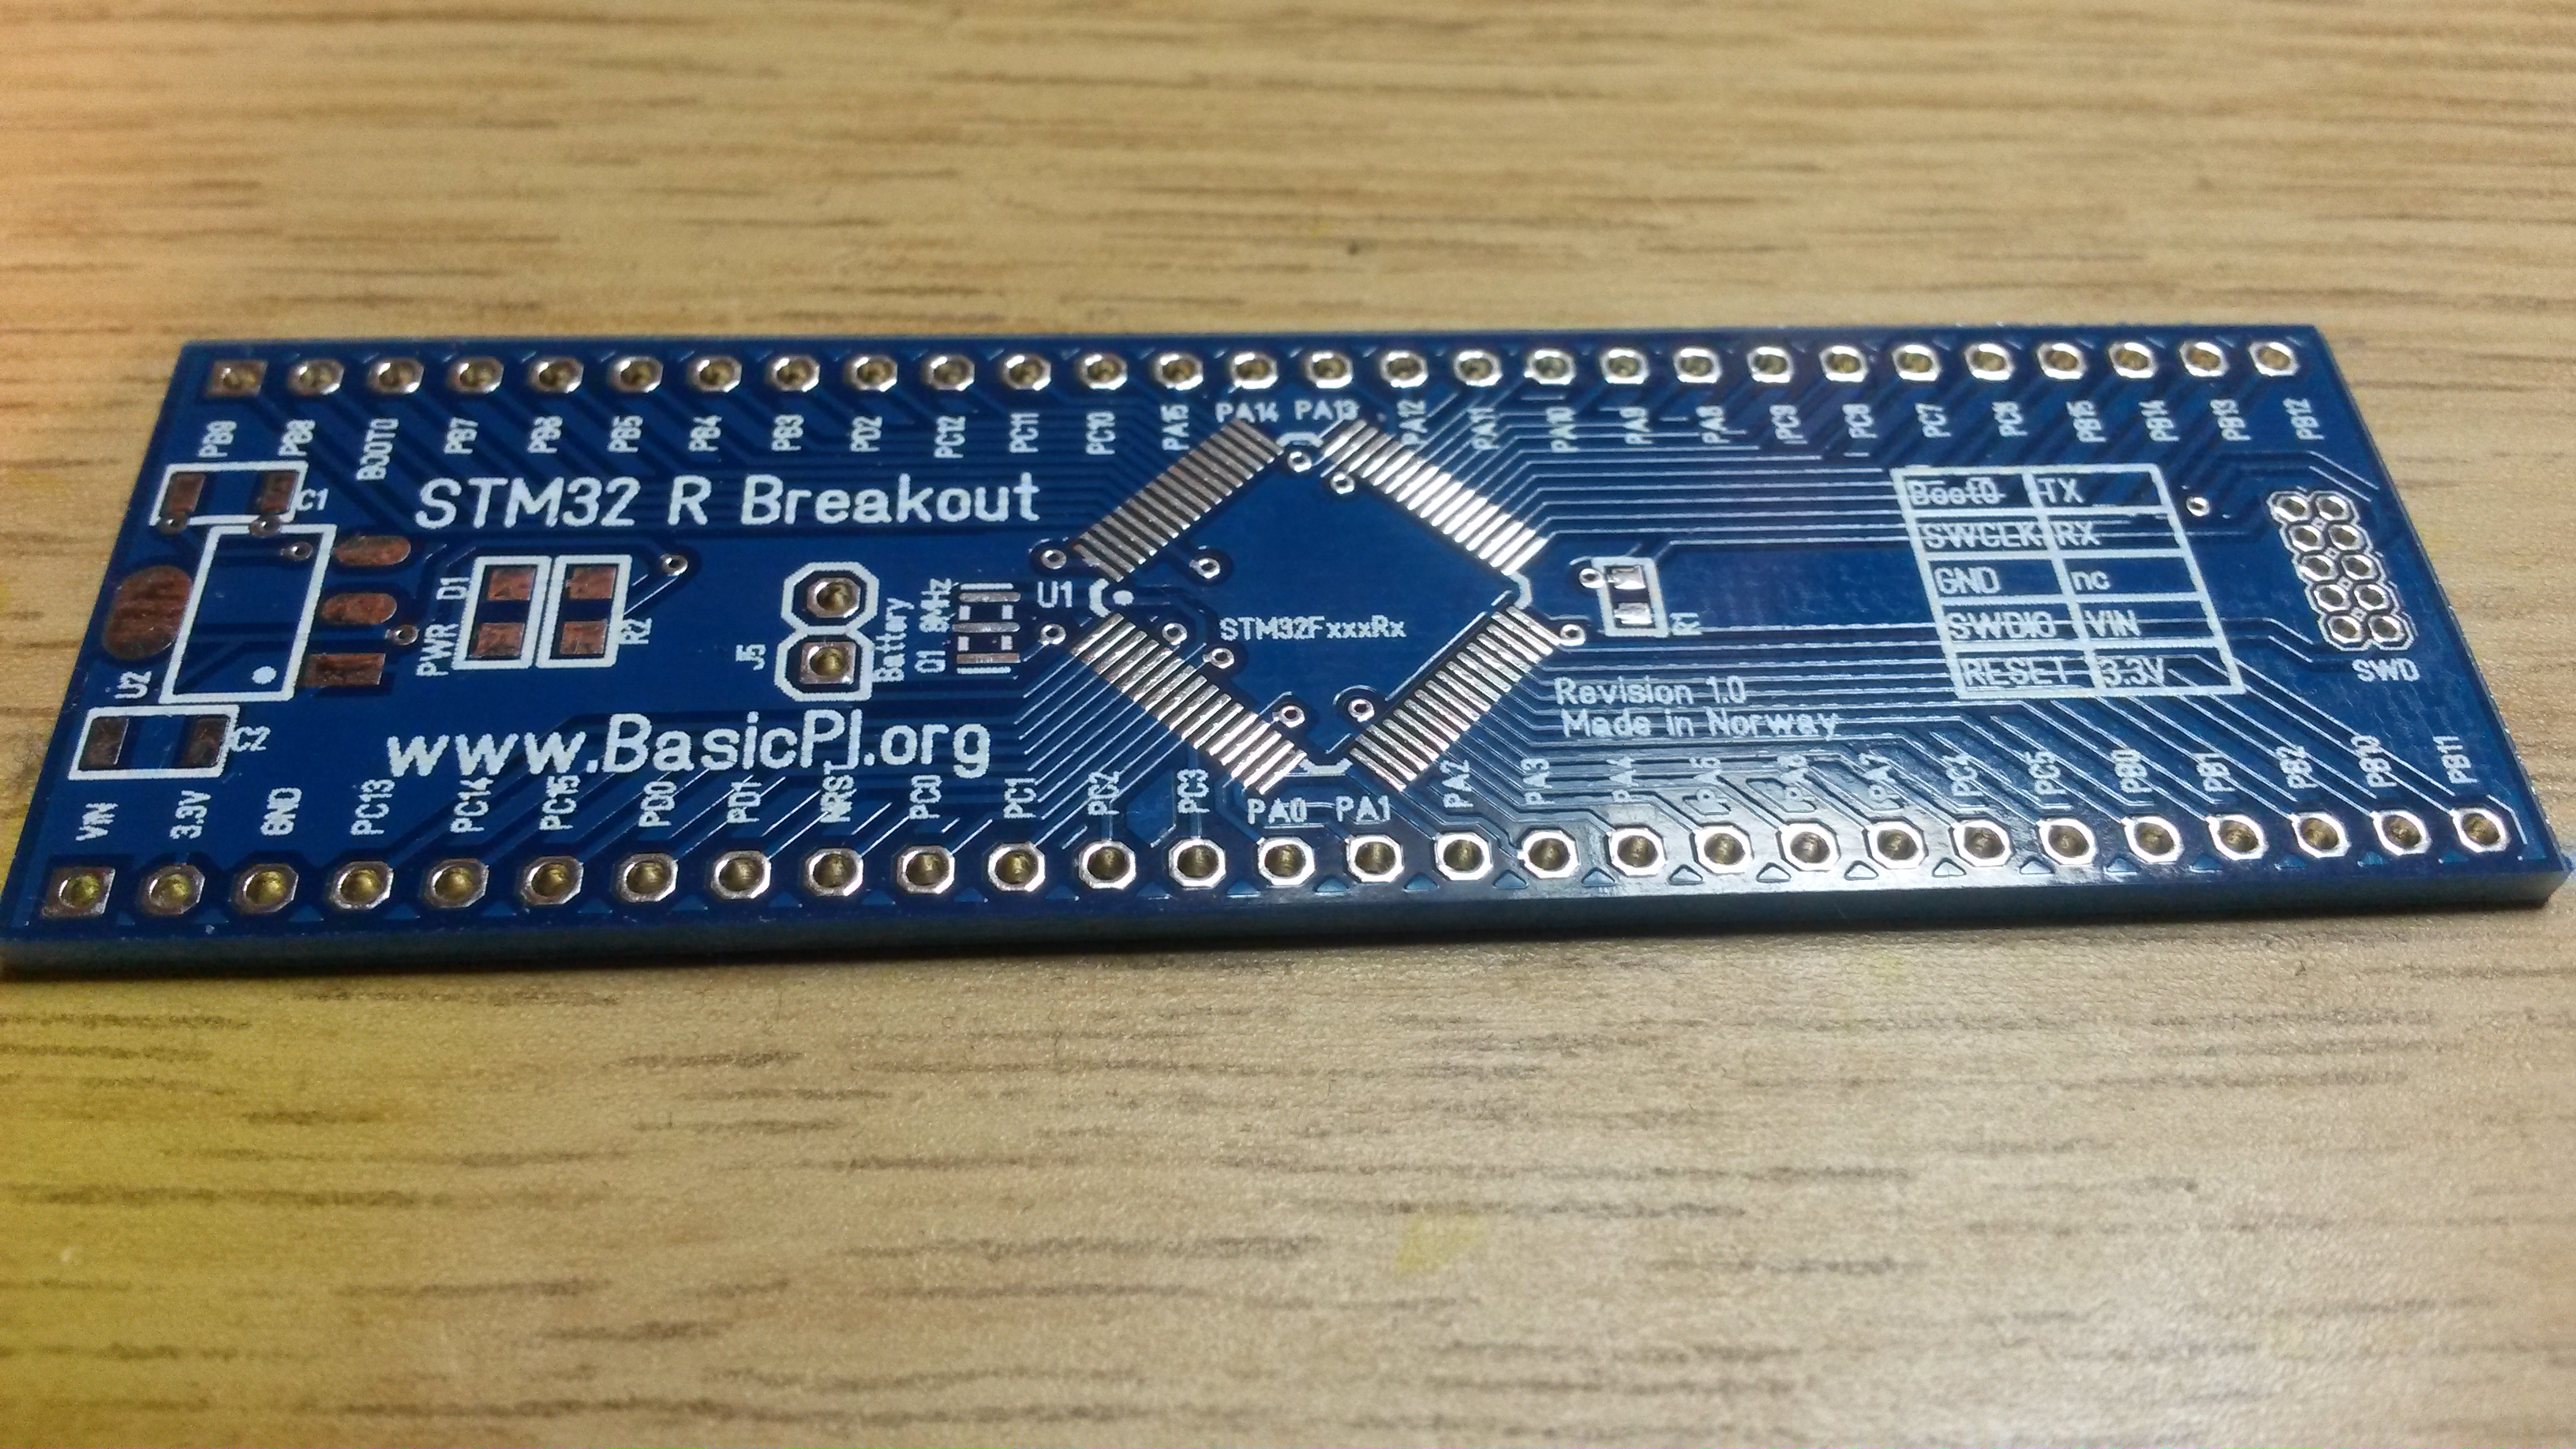
The challenge with current sensors in this is that you need to scale for maximum meaning you get very little on small motors. This is actually also why I fancy making specialized Motor Controllers for small motors, but the STM32F303CB comes in 48 pin package with motor drivers and programmable op amps perfect for this job.
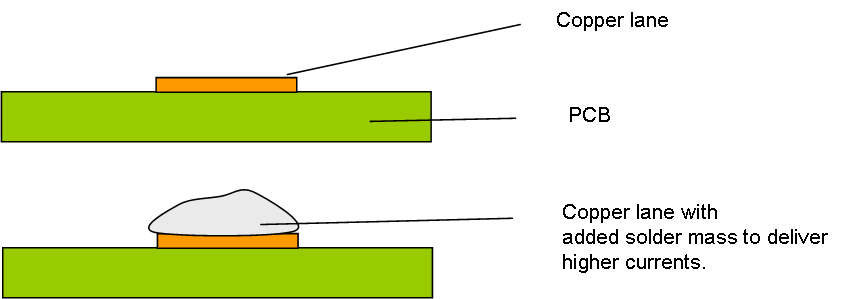
The drawing above shows a normal copper lane (illustrated), but if you look at the PCB layout you will notice that it makes it rather easy to add solder mass to deliver higher currents. This will also be tested to see what we can get out of this design.