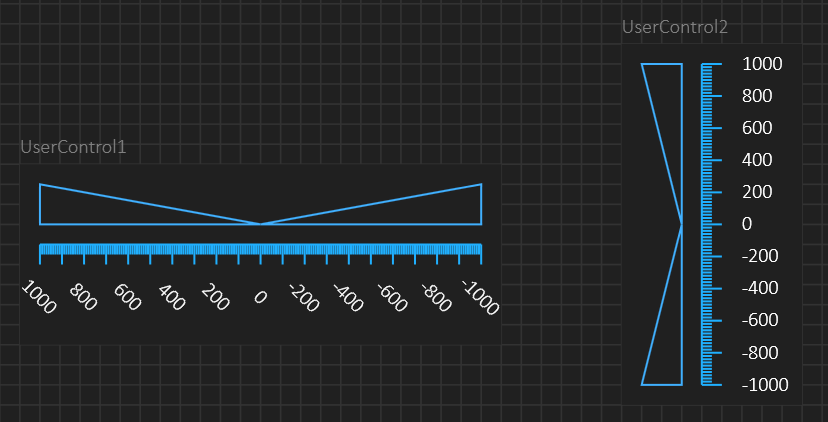
This picture shows two Linear Gauges created as User Controls. I have not added the linear slider yet, but these are examples of assembling individual controls as a new user controls. The User Control itself is just a shaped background and all HMI components over that will be part of the user control. In this case I add 2 x Linear Bars, 1 x Scale and 1 x Linear Labels component.
The user control draft an area and this is your design area. You draw the rest of the components on this using the designer or parameters and the content will scale as the user control scale.
Once added to a diagram you will see that UserControl1 and UserControl2 also are added to the left Toolbar and can be re-used straight away. As mentioned before you need to design properties, methods and events for your control as well – this is just the visual design part. These exact gauges are early examples of the build-in Linear Gauge.
As for the Linear gauges – what you see here is just a demo of what they can do. As with Circular components (or any HMI component) you can use the visual designer and fine-tune using the grid system or you can switch to parameterized design. The later allows you to control position, width, height through manually entered parameters for finer control. In the example above you see that distance between individual components are grid10 . The designer also support no-grid or grid5, but some of these details are just better being handled though parameters – it’s up to you.
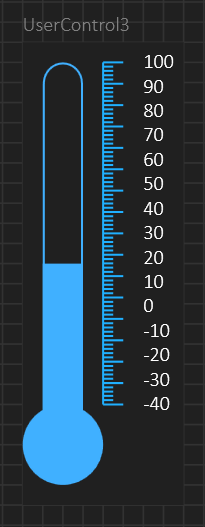
This temp gauge is just another example. This just shows how capable this system is because I assembled this component in a few seconds while writing this blog. This is five individual components added on screen as a drawing and to change temperature youjust change the height of one of them. Gauges are all about visual effects. I actually surpriced myself with this one 🙂

